Usage
Accessing your mock API version history
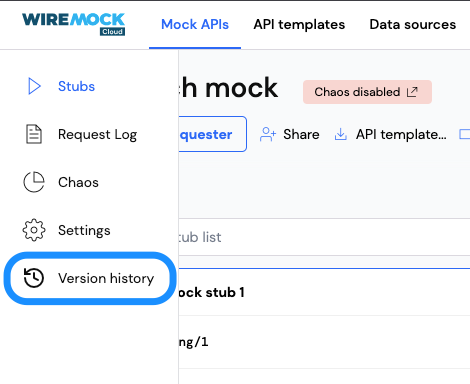
The version history for your mock API is available on the mock API menu bar. Click on theVersion history link to
access the version history.
Commits
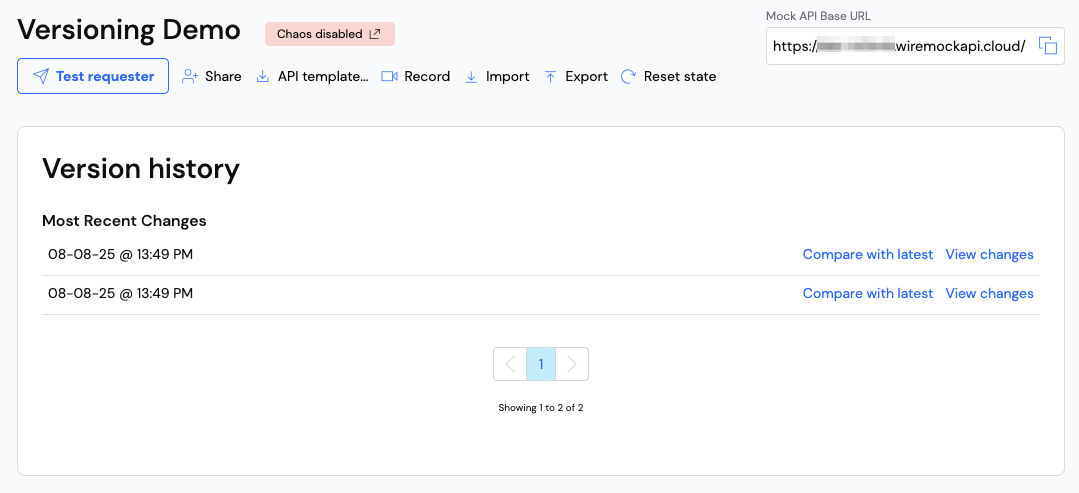
A commit is a collection of changes to your mock API and is created when you create, modify or delete assets associated to your mock API - stubs, settings, GraphQL schemas, gRPC definition files, OpenAPI schemas, etc. Each commit will have a timestamp of when commit was made to the API. If the commit is made by an authenticated user (as opposed to the system), the user’s username will be displayed alongside the commit.Changes
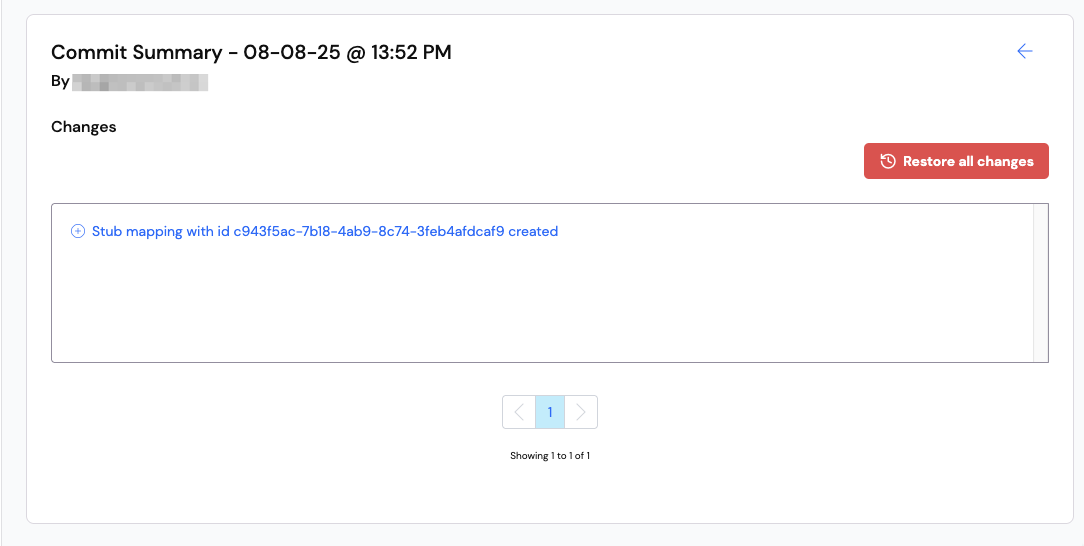
Changes are the individual changes that were made to your mock API. To view the changes associated with a commit, click on theView changes link to the right of the commit. This will display one or more changes highlighting what was
changed and how. For example, the following example shows a change for a stub creation in the Mock API:
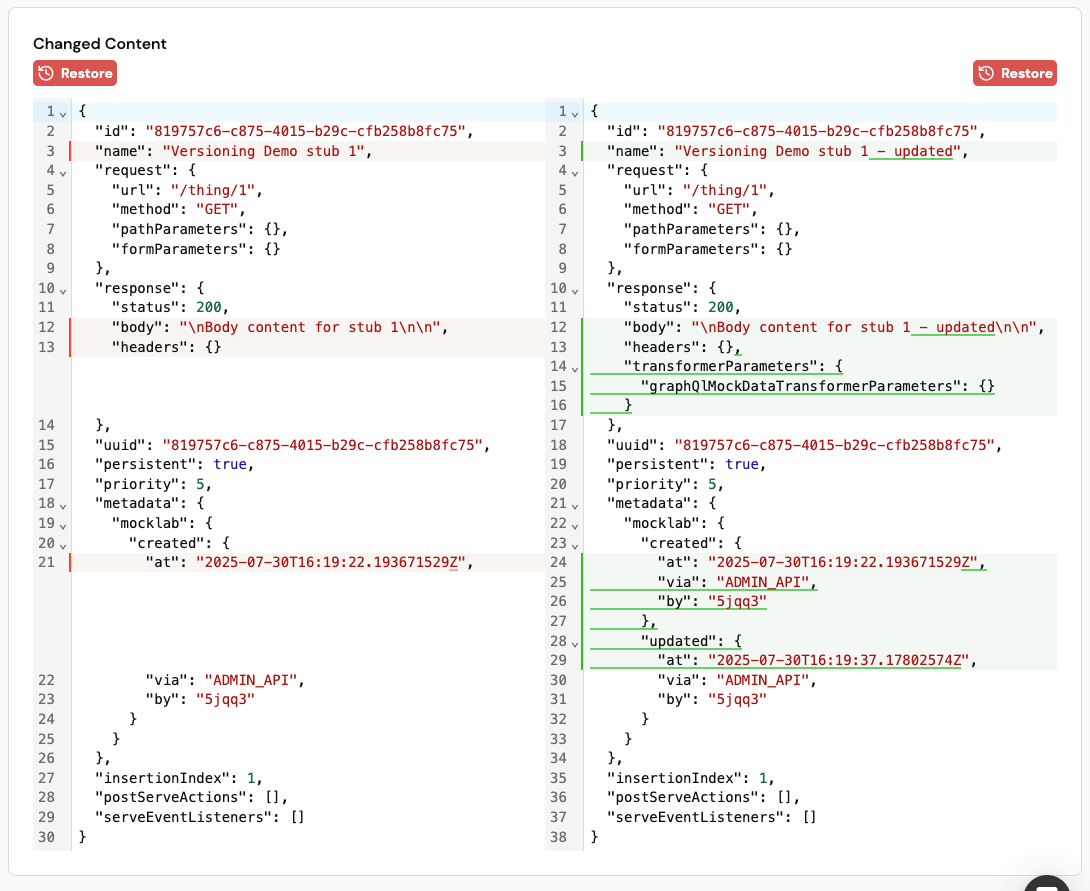
Viewing what actually changed
You can click on any of the changes in the list to view the actual changes that were made. Where possible, this will show you the diff highlighting what was added or removed.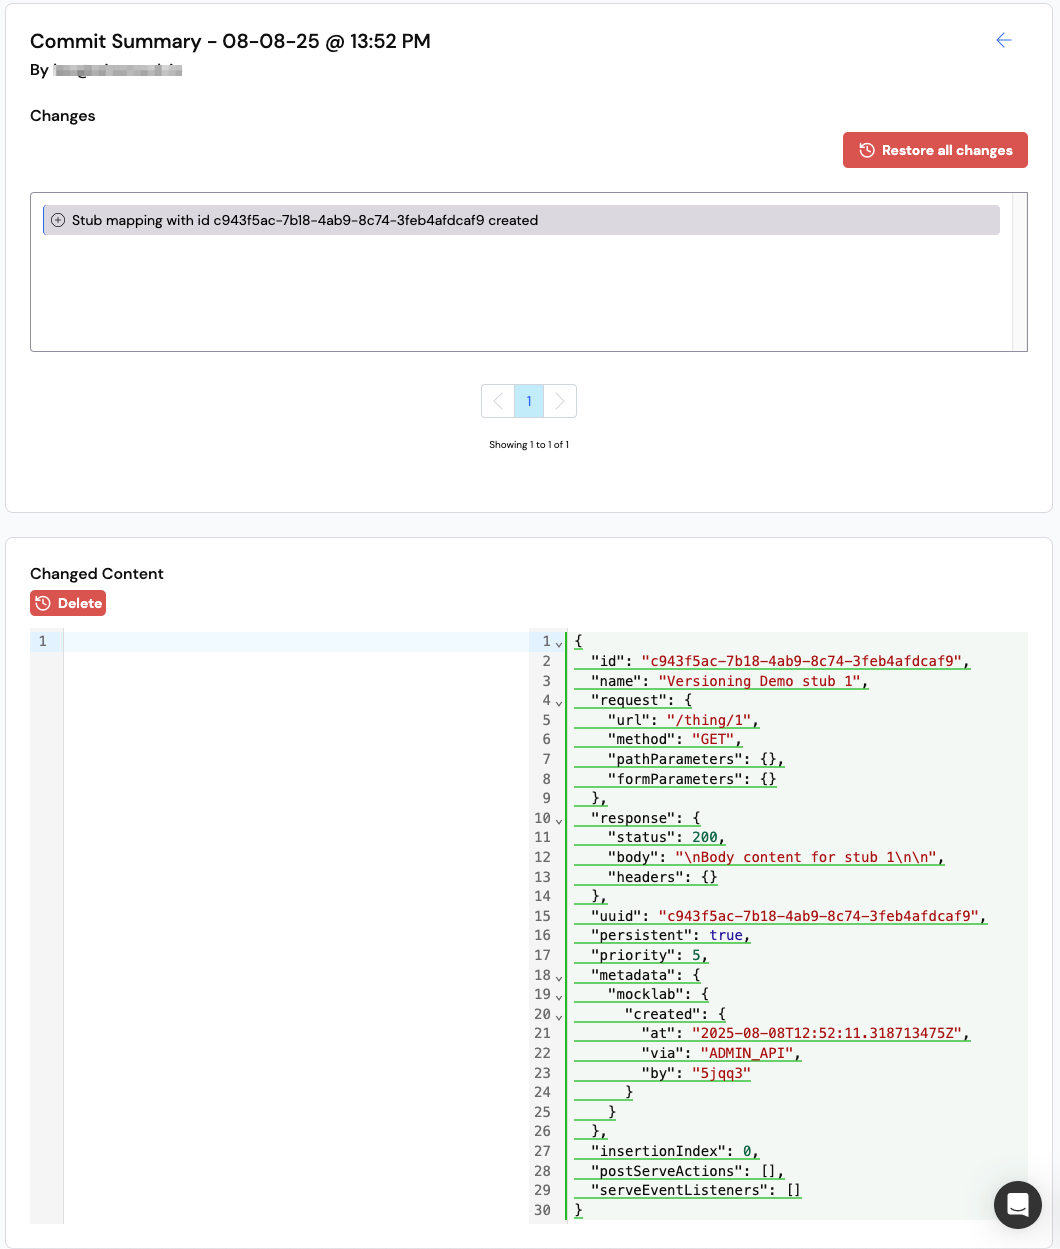
Restoring to a previous version
The buttons above the diff shows the restore actions you can take on either side of the diff.
Delete button will display a confirmation dialog asking if you want to proceed with the deletion.
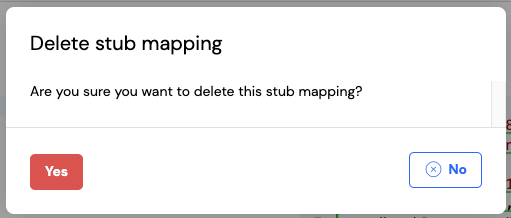
No button will exit the confirmation dialog without deleting the stub. Clicking the Yes button
will ‘restore’ the change and delete the stub.
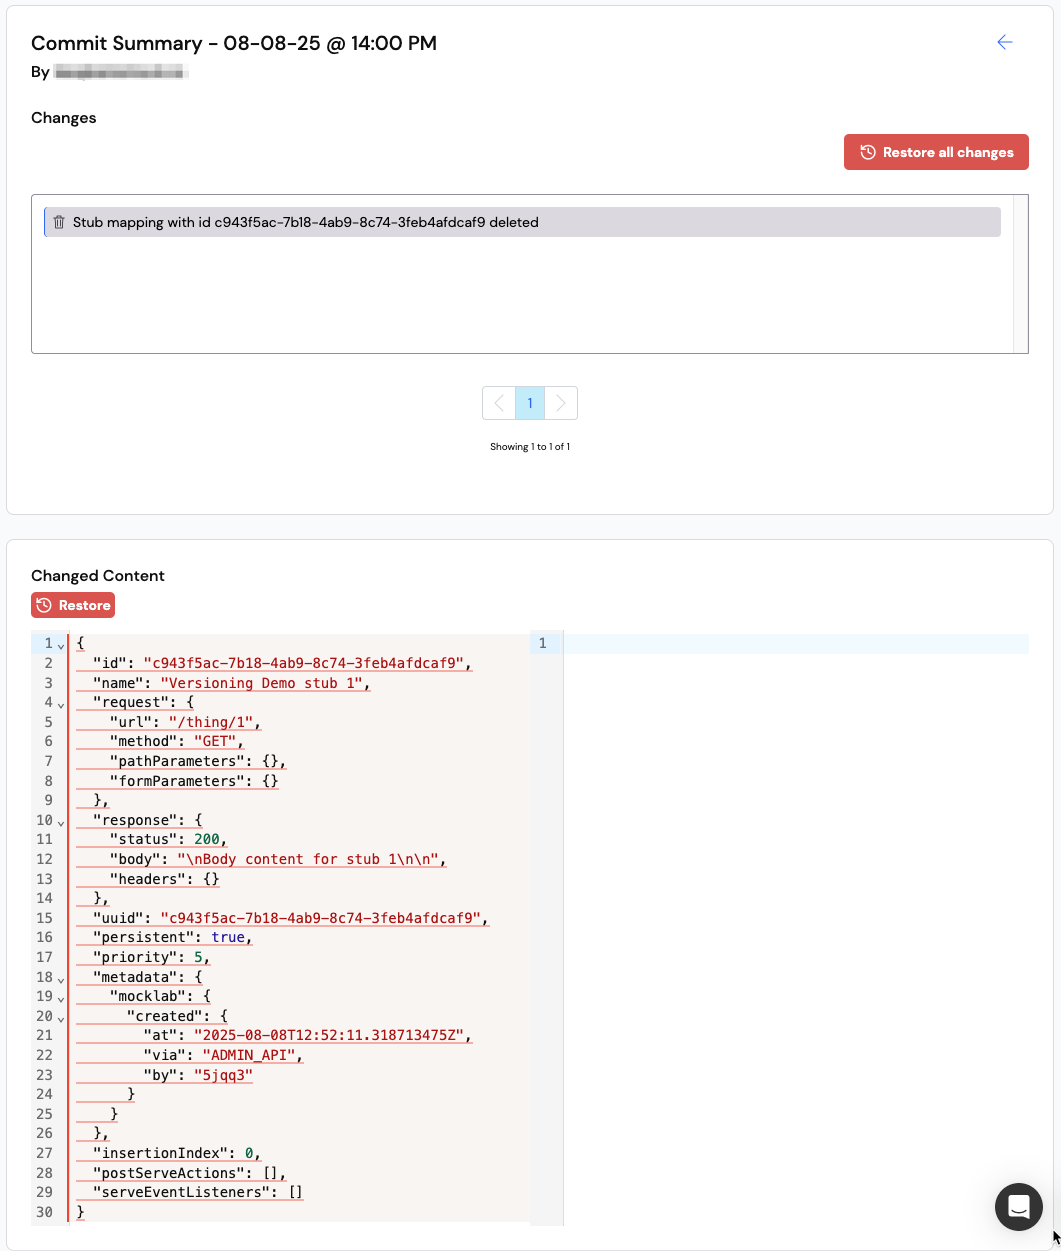
Once you have deleted a stub, the stub will no longer be available in your mock API and a new commit will be created
with the stub deletion. The diff will show the stub as being deleted:
Restore to allow you to restore the stub. Clicking on the Restore
button will display a confirmation dialog asking if you want to proceed with the restore.
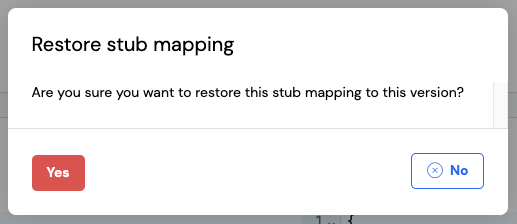
No button will exit the dialog without restoring the stub. Clicking Yes will restore the
stub and create a new commit with the stub creation.
The same applies to modifying - a new commit will be created with the change. The diff will show the change from the
previous version to the new version:
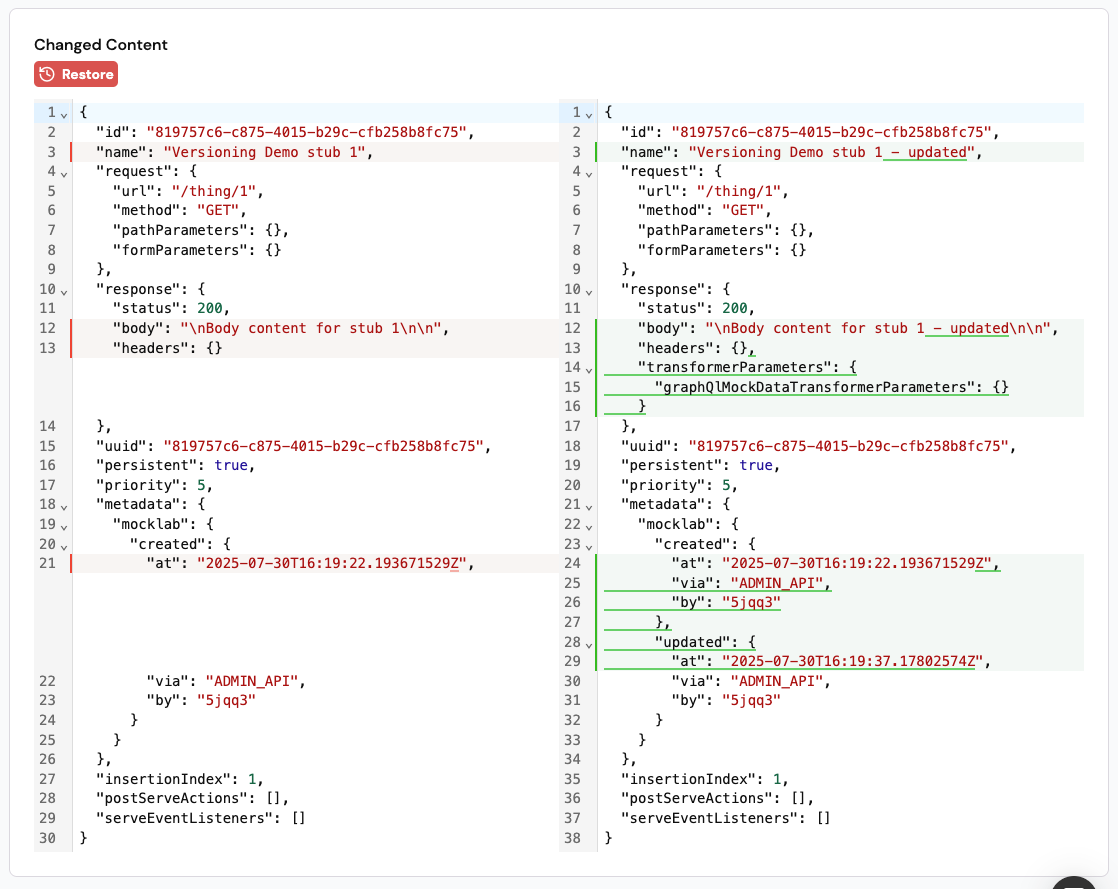
Restore button is available on the right hand side of the diff. This is
because the right hand side of the diff shows the most recent version of the stub. The left hand side of the diff has an
Restore button available to restore the change. If the commit you were looking was not the most recent version of the
stub, you will see a Restore button on both sides of the diff allowing either side of the diff to be restored:
Importing
Importing into your mock API can generate multiple changes in the one commit. For example, if you imported a file that created multiple stubs, each of those stub creation changes will be recorded in a single commit.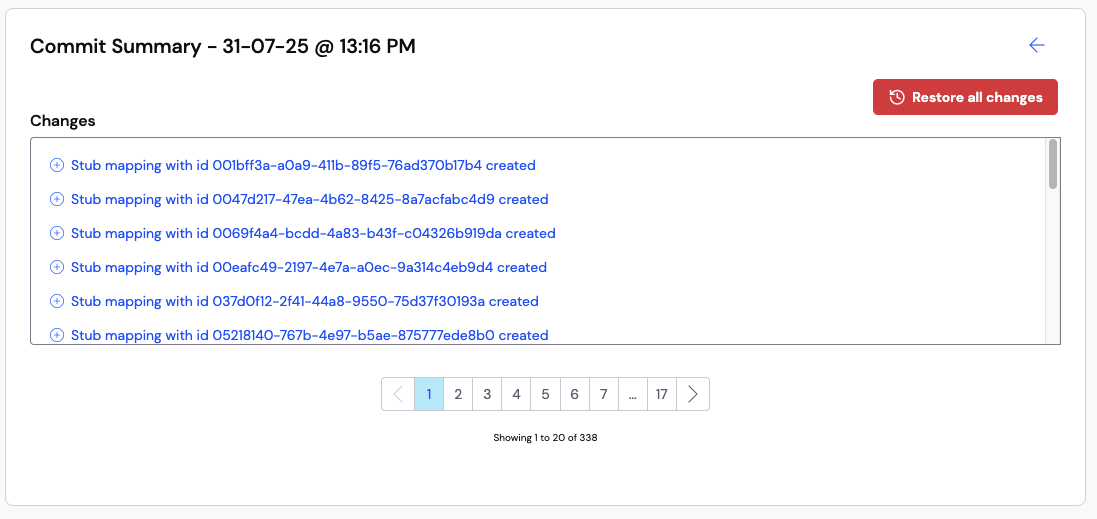
Restoring a Mock API to a previous commit
When you click on theView changes link for a commit, you will see the changes between the commit you have selected
and the previous commit. This is great for when you want to cherry-pick specific changes and restore individual items
in your mock API.
However, if you want to restore the entire mock API to a previous version, you can do so by clicking on the Compare with latest
link next to a commit
Restore all changes button next to the commit you want to restore to.
Restore all changes button, you will be prompted to confirm that you want to restore the entire
mock API to the selected commit.
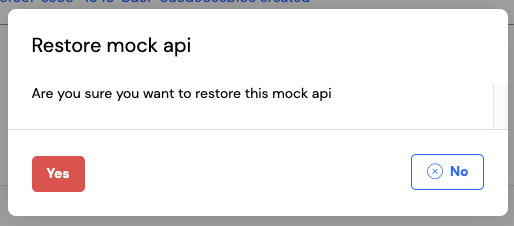
Yes will restore the entire mock API to the selected commit and clicking No will exit the confirmation dialog
without making any changes.