You can configure your own rate limiters and apply them to your stubs, allowing you to simulate the real-world rate limiters protecting the APIs you’re mocking.

Add rate limits to a mock api

Rate limits are defined in your mock api settings page.

You can choose one of your rate limits to be the default rate limit for the mock API, which means it will apply to all stubs, unless a different rate limit is selected for a specific stub.
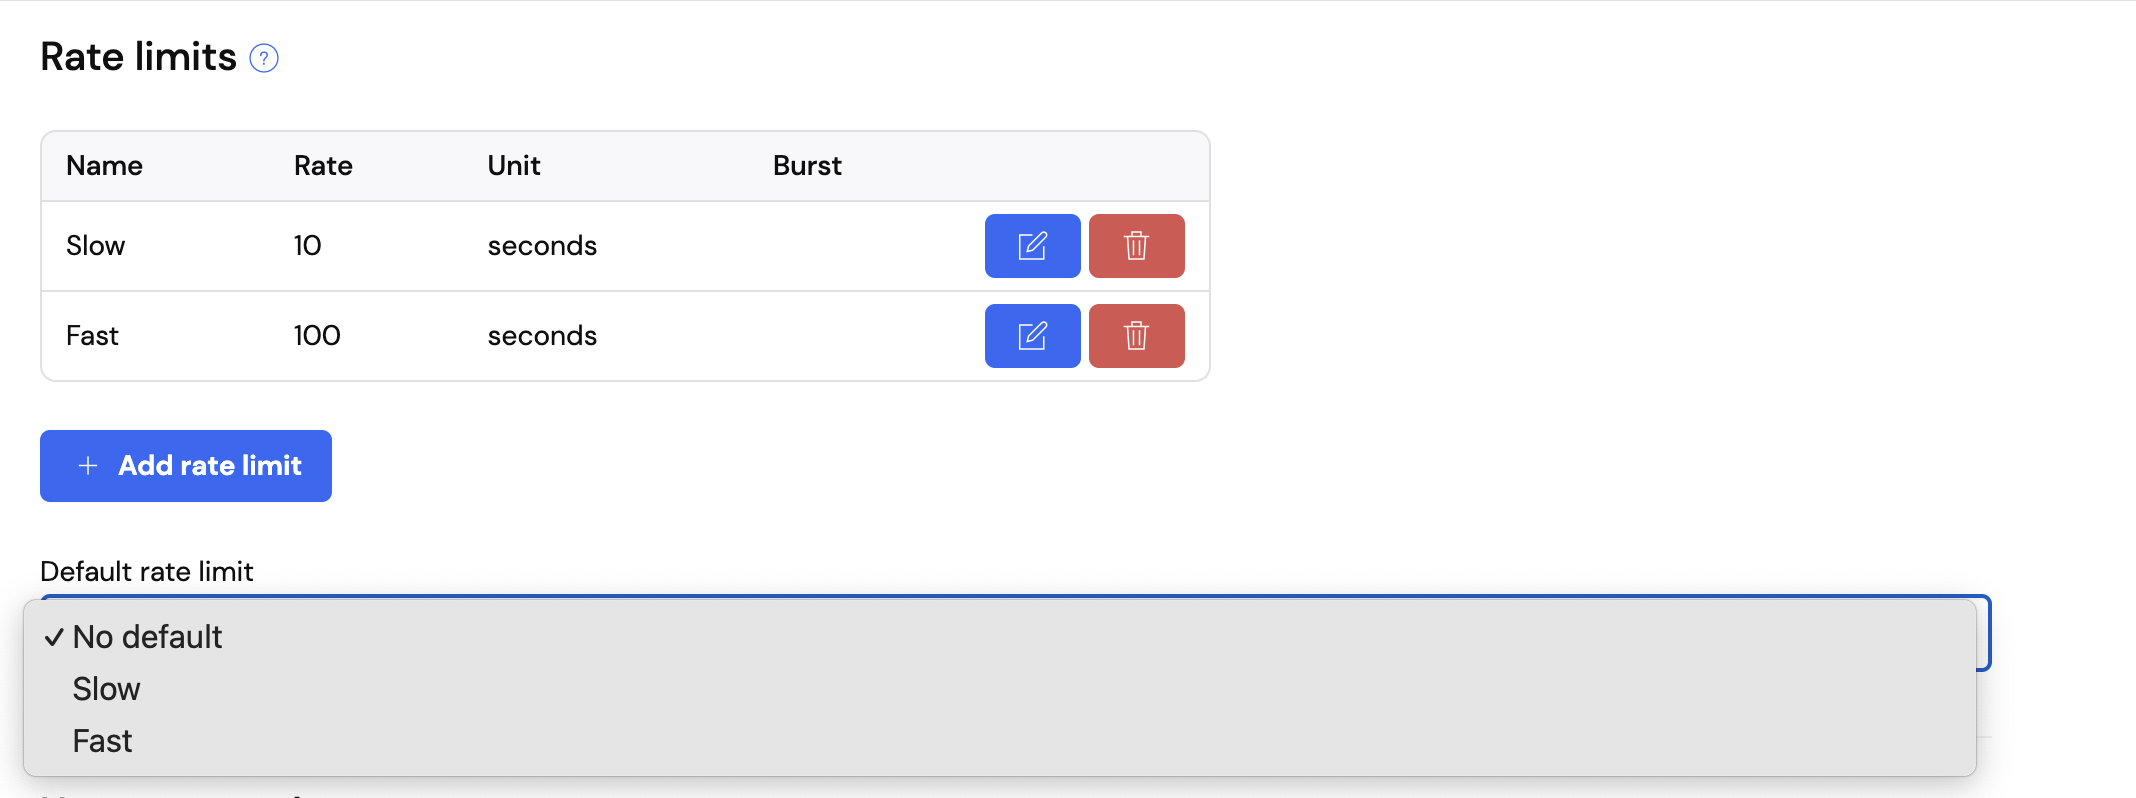
Once created rate limit names cannot be changed as then name is used as the unique identifier when assigning to a stub.

If you would like to update the name please create a new rate limit and attached to the new rate limit to your stub.

Add rate limit to a stub

Rate limits can be applied to a stub in the “Response” section.

Stubs will by default have either no rate limit, or the default rate limit selected at the API level.

Even if the API has a default rate limit, you can selected another of your previously created rate limits to allow for any individual stub to perform with a rate limit other than the default.

Creating a rate limiter via API

A rate limiter is defined by an object in your mock API’s settings document. The JSON attribute key is then used to apply the rate limiter to specific stub mappings.

A rate limiter has two mandatory parameters:

  • unit - the time unit the rate is being expressed in e.g. nanoseconds, seconds, minutes
  • rate - the number of requests per the time unit permitted e.g. 15

You can also optionally allow bursting by setting:

  • burst - the number of requests that can be made in a burst over the set rate limit

You set the rate limit by making a PUT request to https://<your mock API>.wiremockapi.cloud/__admin/ext/settings/extended/rateLimits containing the JSON object configuring all of your rate limits e.g.

{
  "rateLimits": {
    "management": {
      "rate": 15,
      "unit": "seconds",
      "burst": 50
    },
    "authentication": {
      "rate": 100,
      "unit": "seconds"
    }
  }
}

If you’ve got admin API security turned on you’ll need to supply your API key e.g.

curl -H 'Authorization:Token <your API token>' \
  https://<your mock API>.wiremockapi.cloud/__admin/ext/settings/extended/rateLimits \
  -X PUT -d '{
 "rateLimits": {
   "management": {
     "rate": 15,
     "unit": "seconds",
     "burst": 50
   },
   "authentication": {
     "rate": 100,
     "unit": "seconds"
   }
  }
}'

Applying to your stubs

To rate limit a particular stub according to one of your named configurations you need to create or edit the stub via the API, so that you can enable the rate-limit transformer and set the name of the rate limit to be used.

You do this by POSTing the JSON to https://<your mock API>.wiremockapi.cloud/__admin/mappings.

Taking the above example, if I wanted to use the “authentication” rate limit in my login handler stub, I’d do as follows:

{
  "name": "Login handler",
  "request": {
    "urlPath": "/login",
    "method": "POST"
  },
  "response": {
    "status": 200,
    "body": "{ \"message\": \"Successfully logged in {{jsonPath request.body '$.username'}}\"",
    "transformers": [
      "response-template",
      "rate-limit"
    ],
    "transformerParameters": {
      "rateLimitName": "authentication"
    }
  },
  "persistent": true
}

The critical parts here are the rate-limit element in the transformers array, and "rateLimitName": "authentication" under transformerParameters.

Once you’ve created a stub this way you will start to see 429 responses when the request rate to all stubs associated with the named rate limit exceeds the limit.