Mock API setup
If you haven’t yet created a mock API in WireMock Cloud, start by doing this. See Getting Started for how to do this. Make a note of the base URL from the Settings page (any of them will do).App setup
Ensure that you have Java 8+ installed and thejava executable on your shell’s PATH.
Clone the WireMock Cloud demo project and change the working directory to the newly checked out project:
src/main/resources/application.properties changing the todo-api.baseurl value to your mock API’s base URL noted earlier.
Run the app:
9000.
Step 1 - show a list of to do items
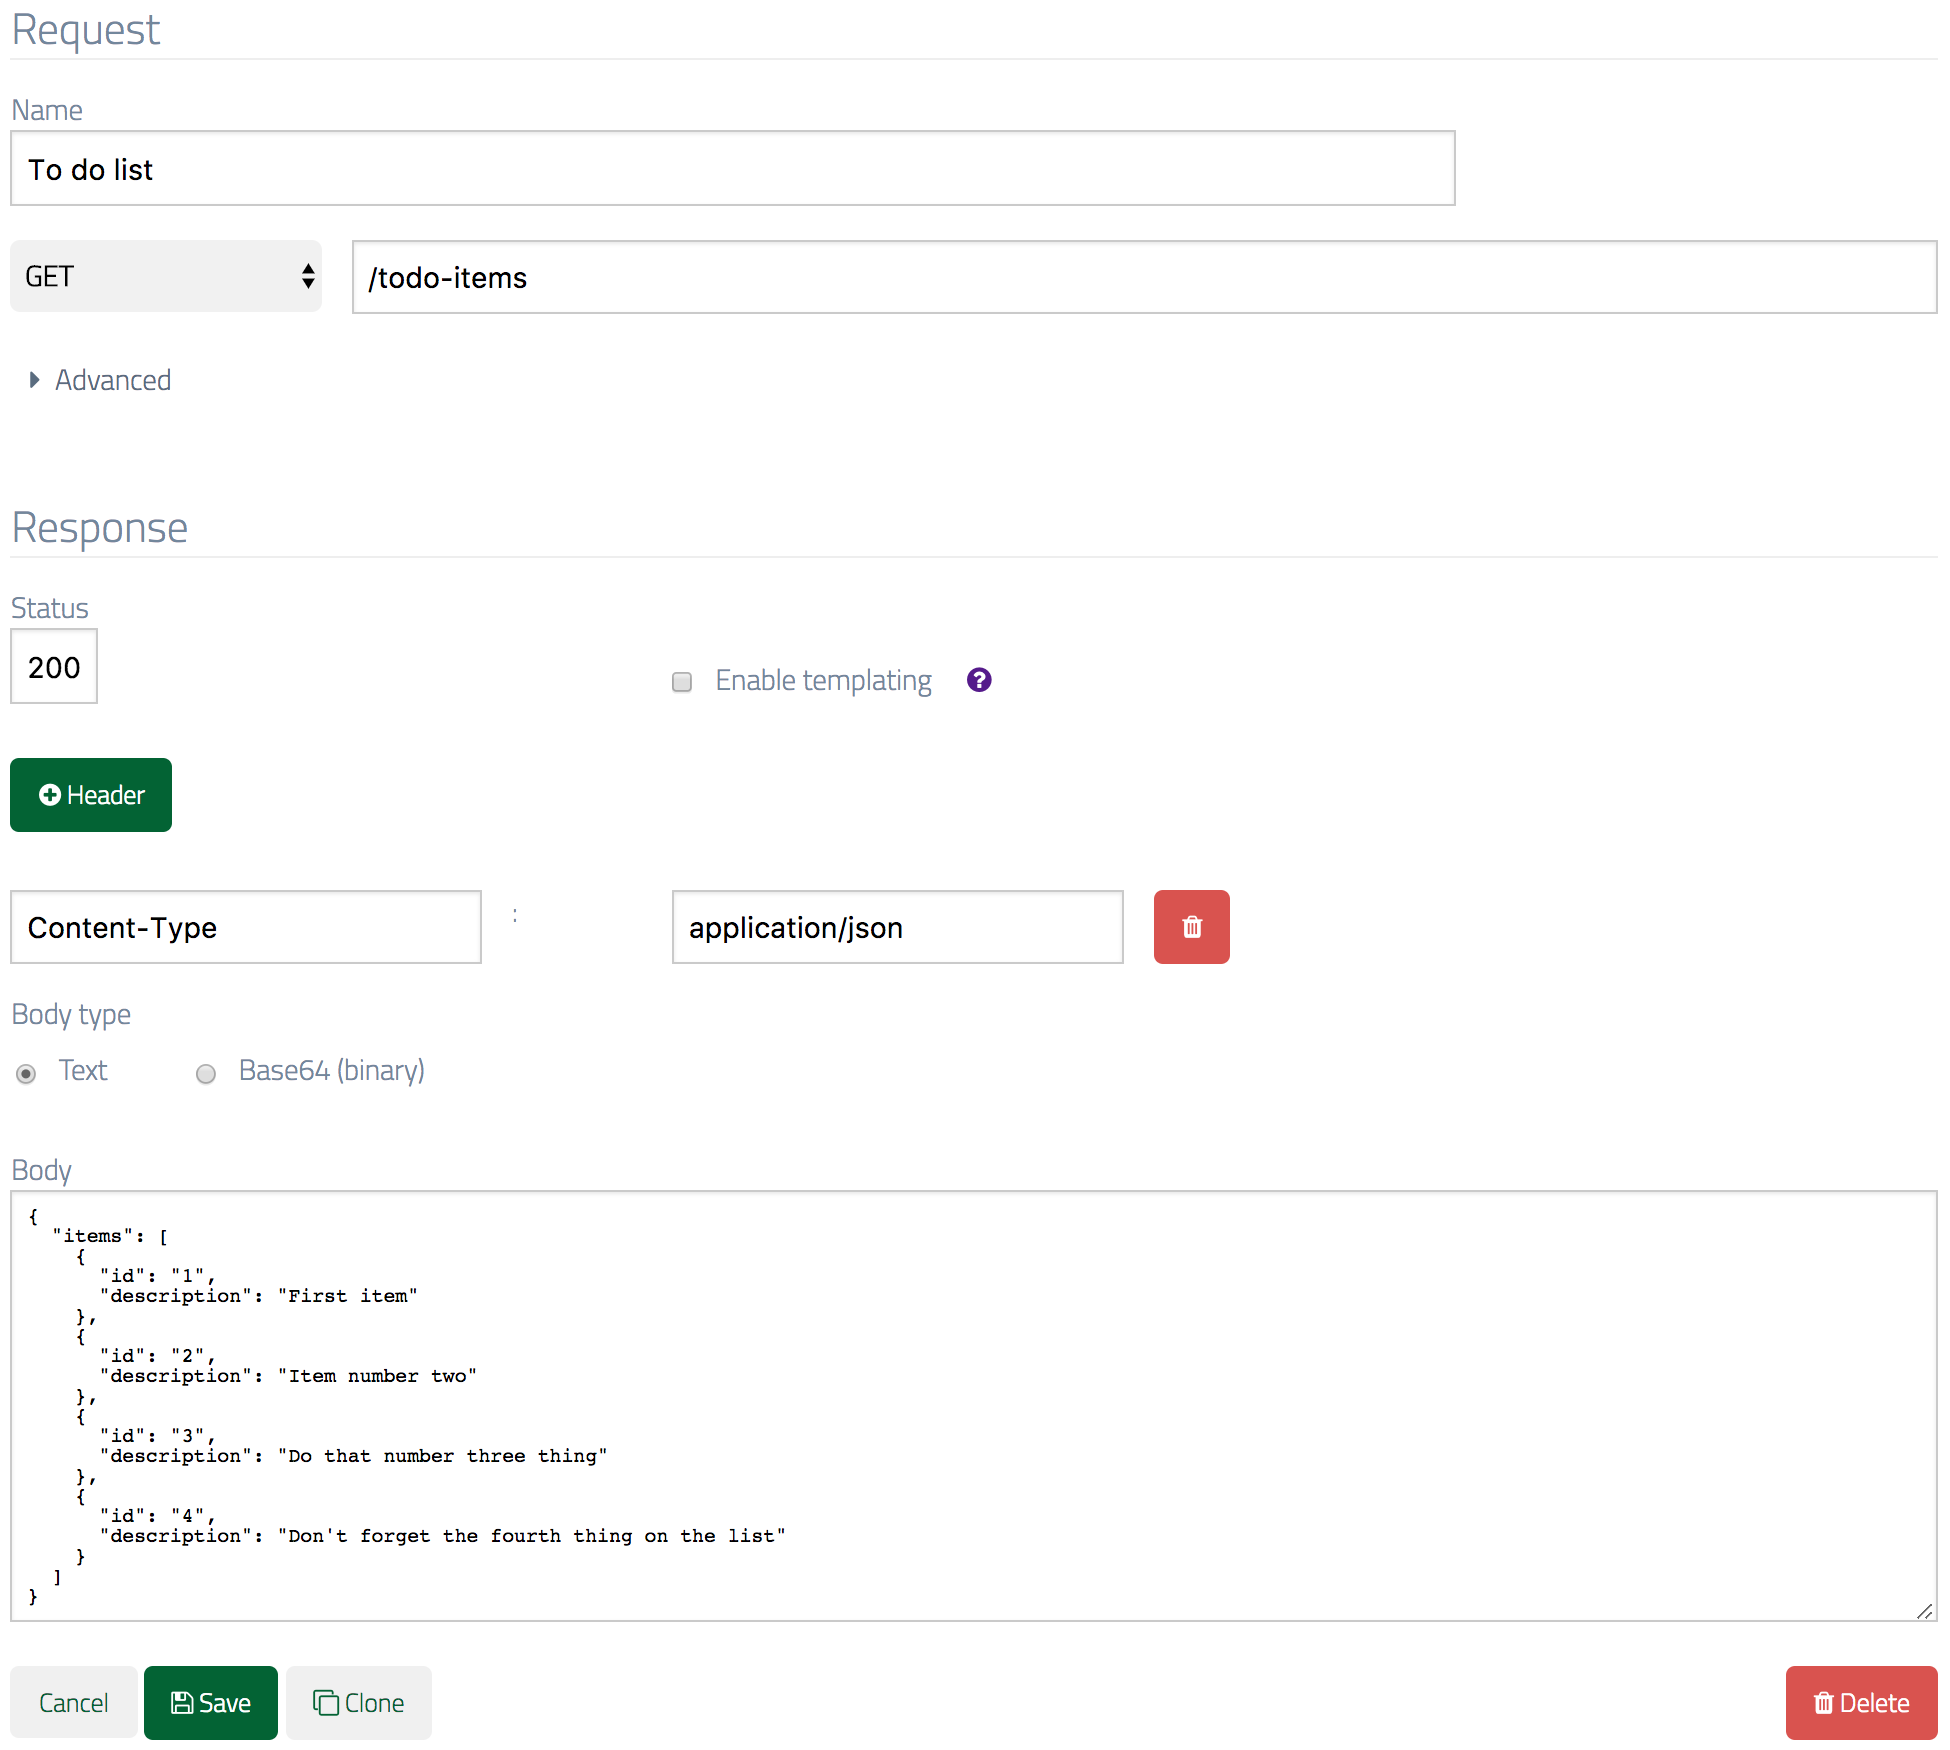
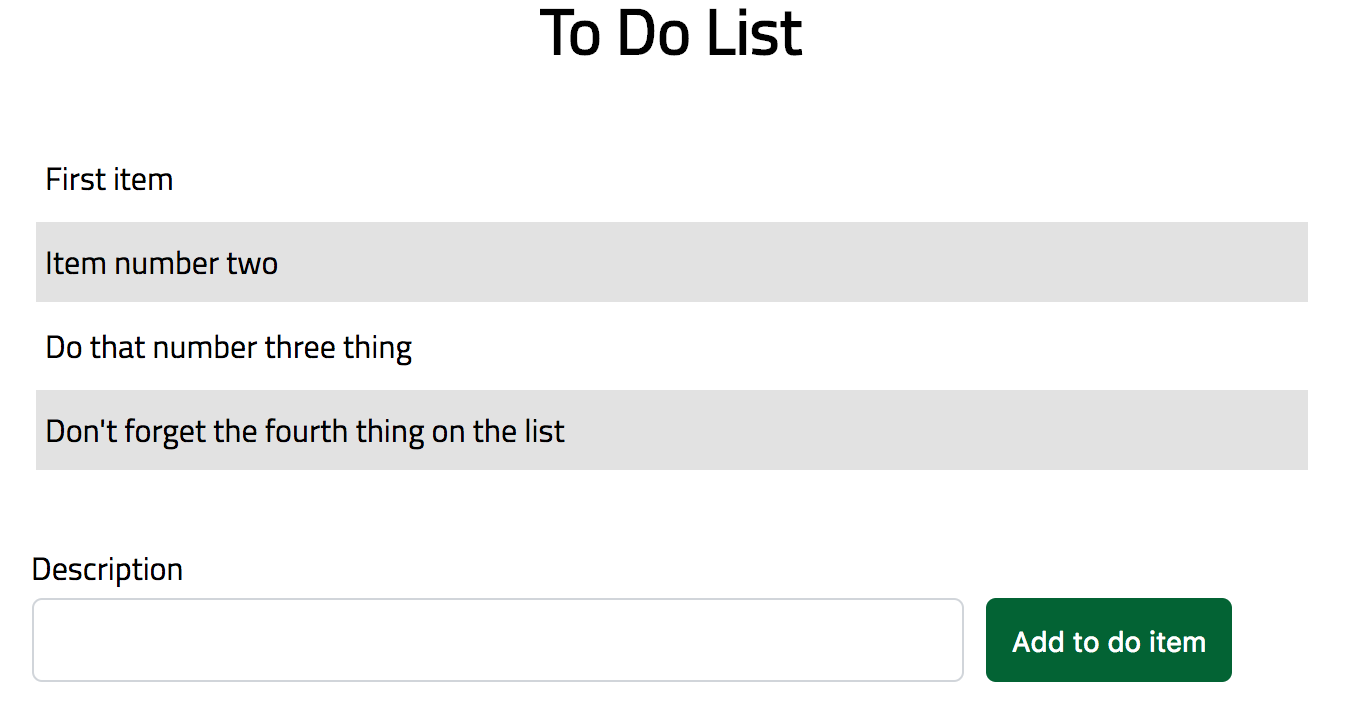
Navigate to the Stubs page and create a new stub with methodGET, URL /todo-items, response Content-Type header application/json and the following JSON in the response body:
Step 2 - simulating the posting of a new item
Next we’re going to simulate a new item being added to the list via a POST request. For this you’ll need another new stub, this time forPOST to /todo-items , response Content-Type header application/json and the following JSON in the response body:
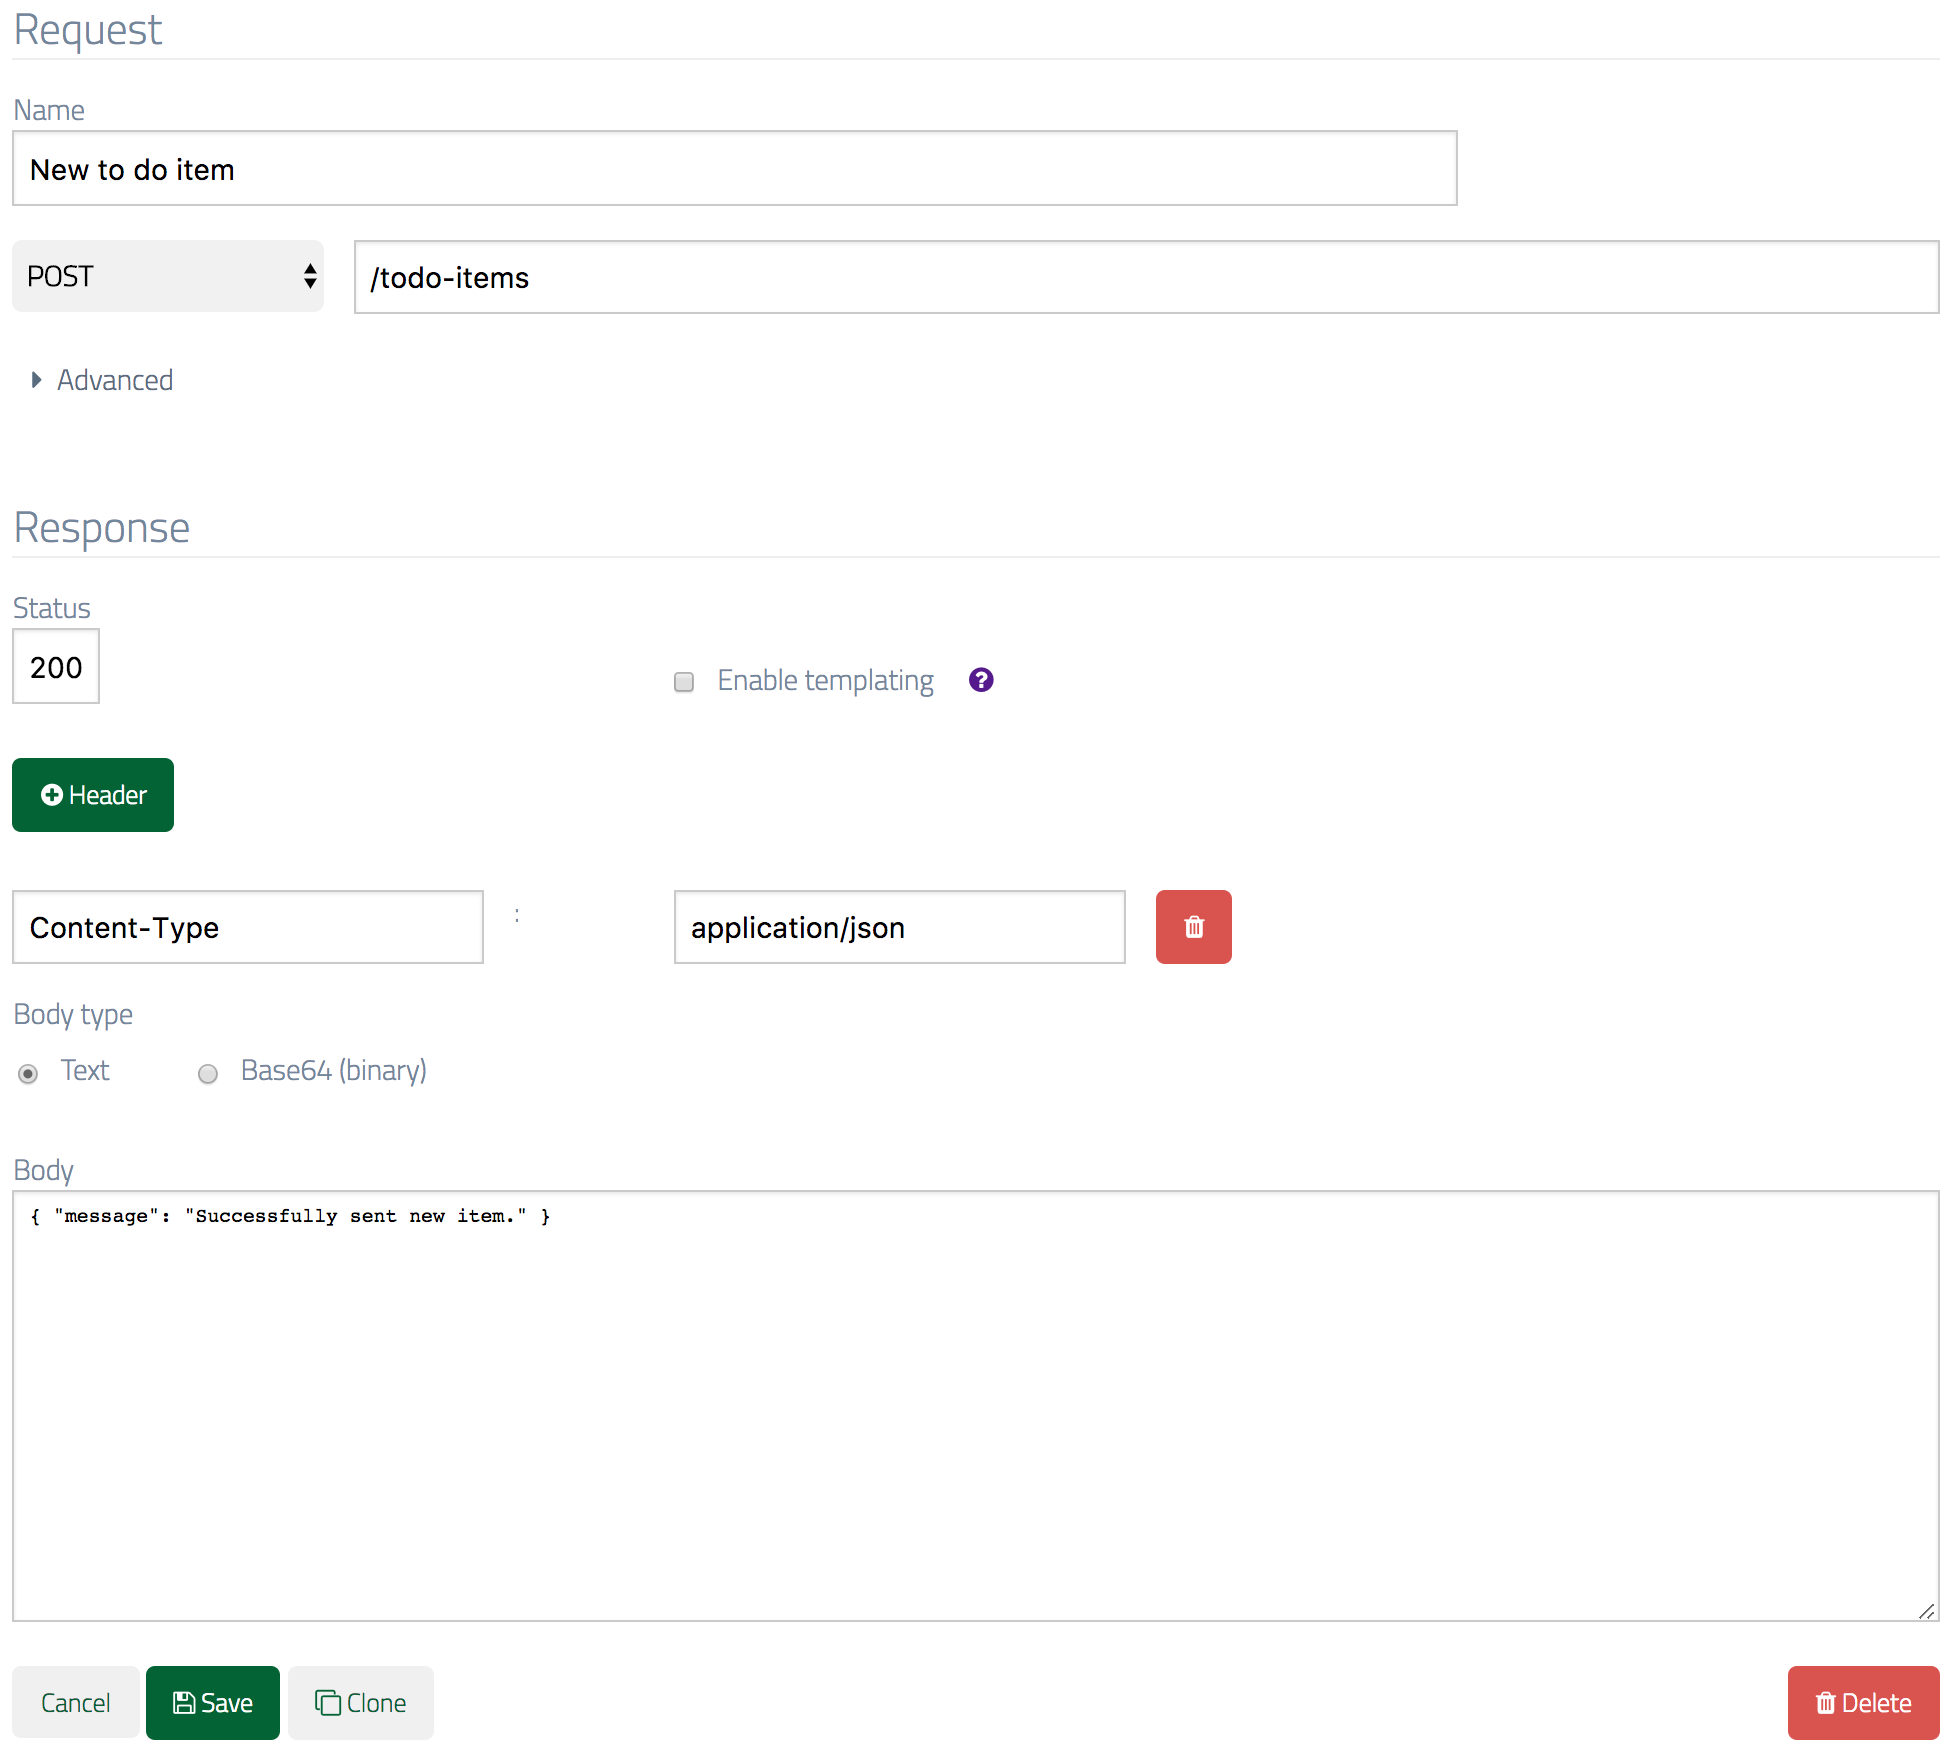

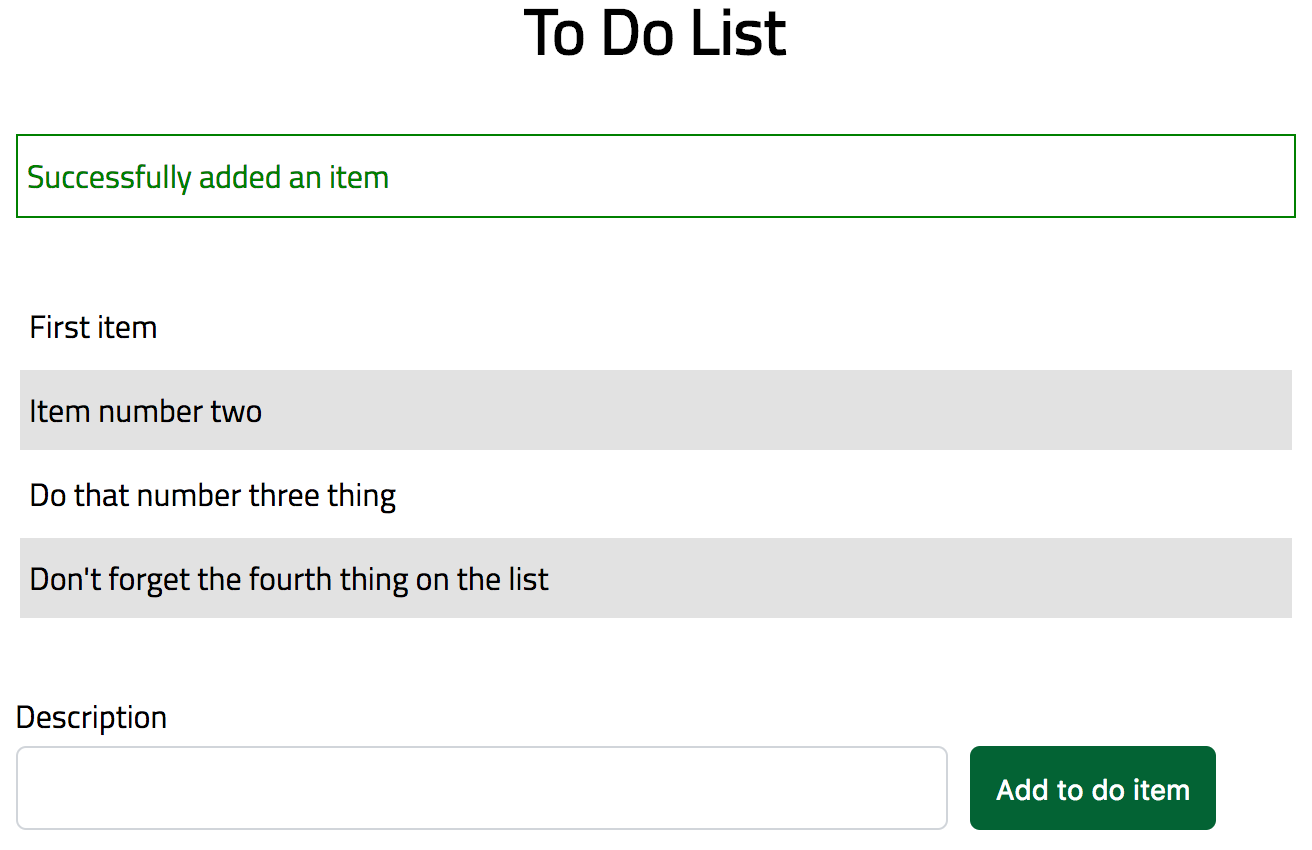
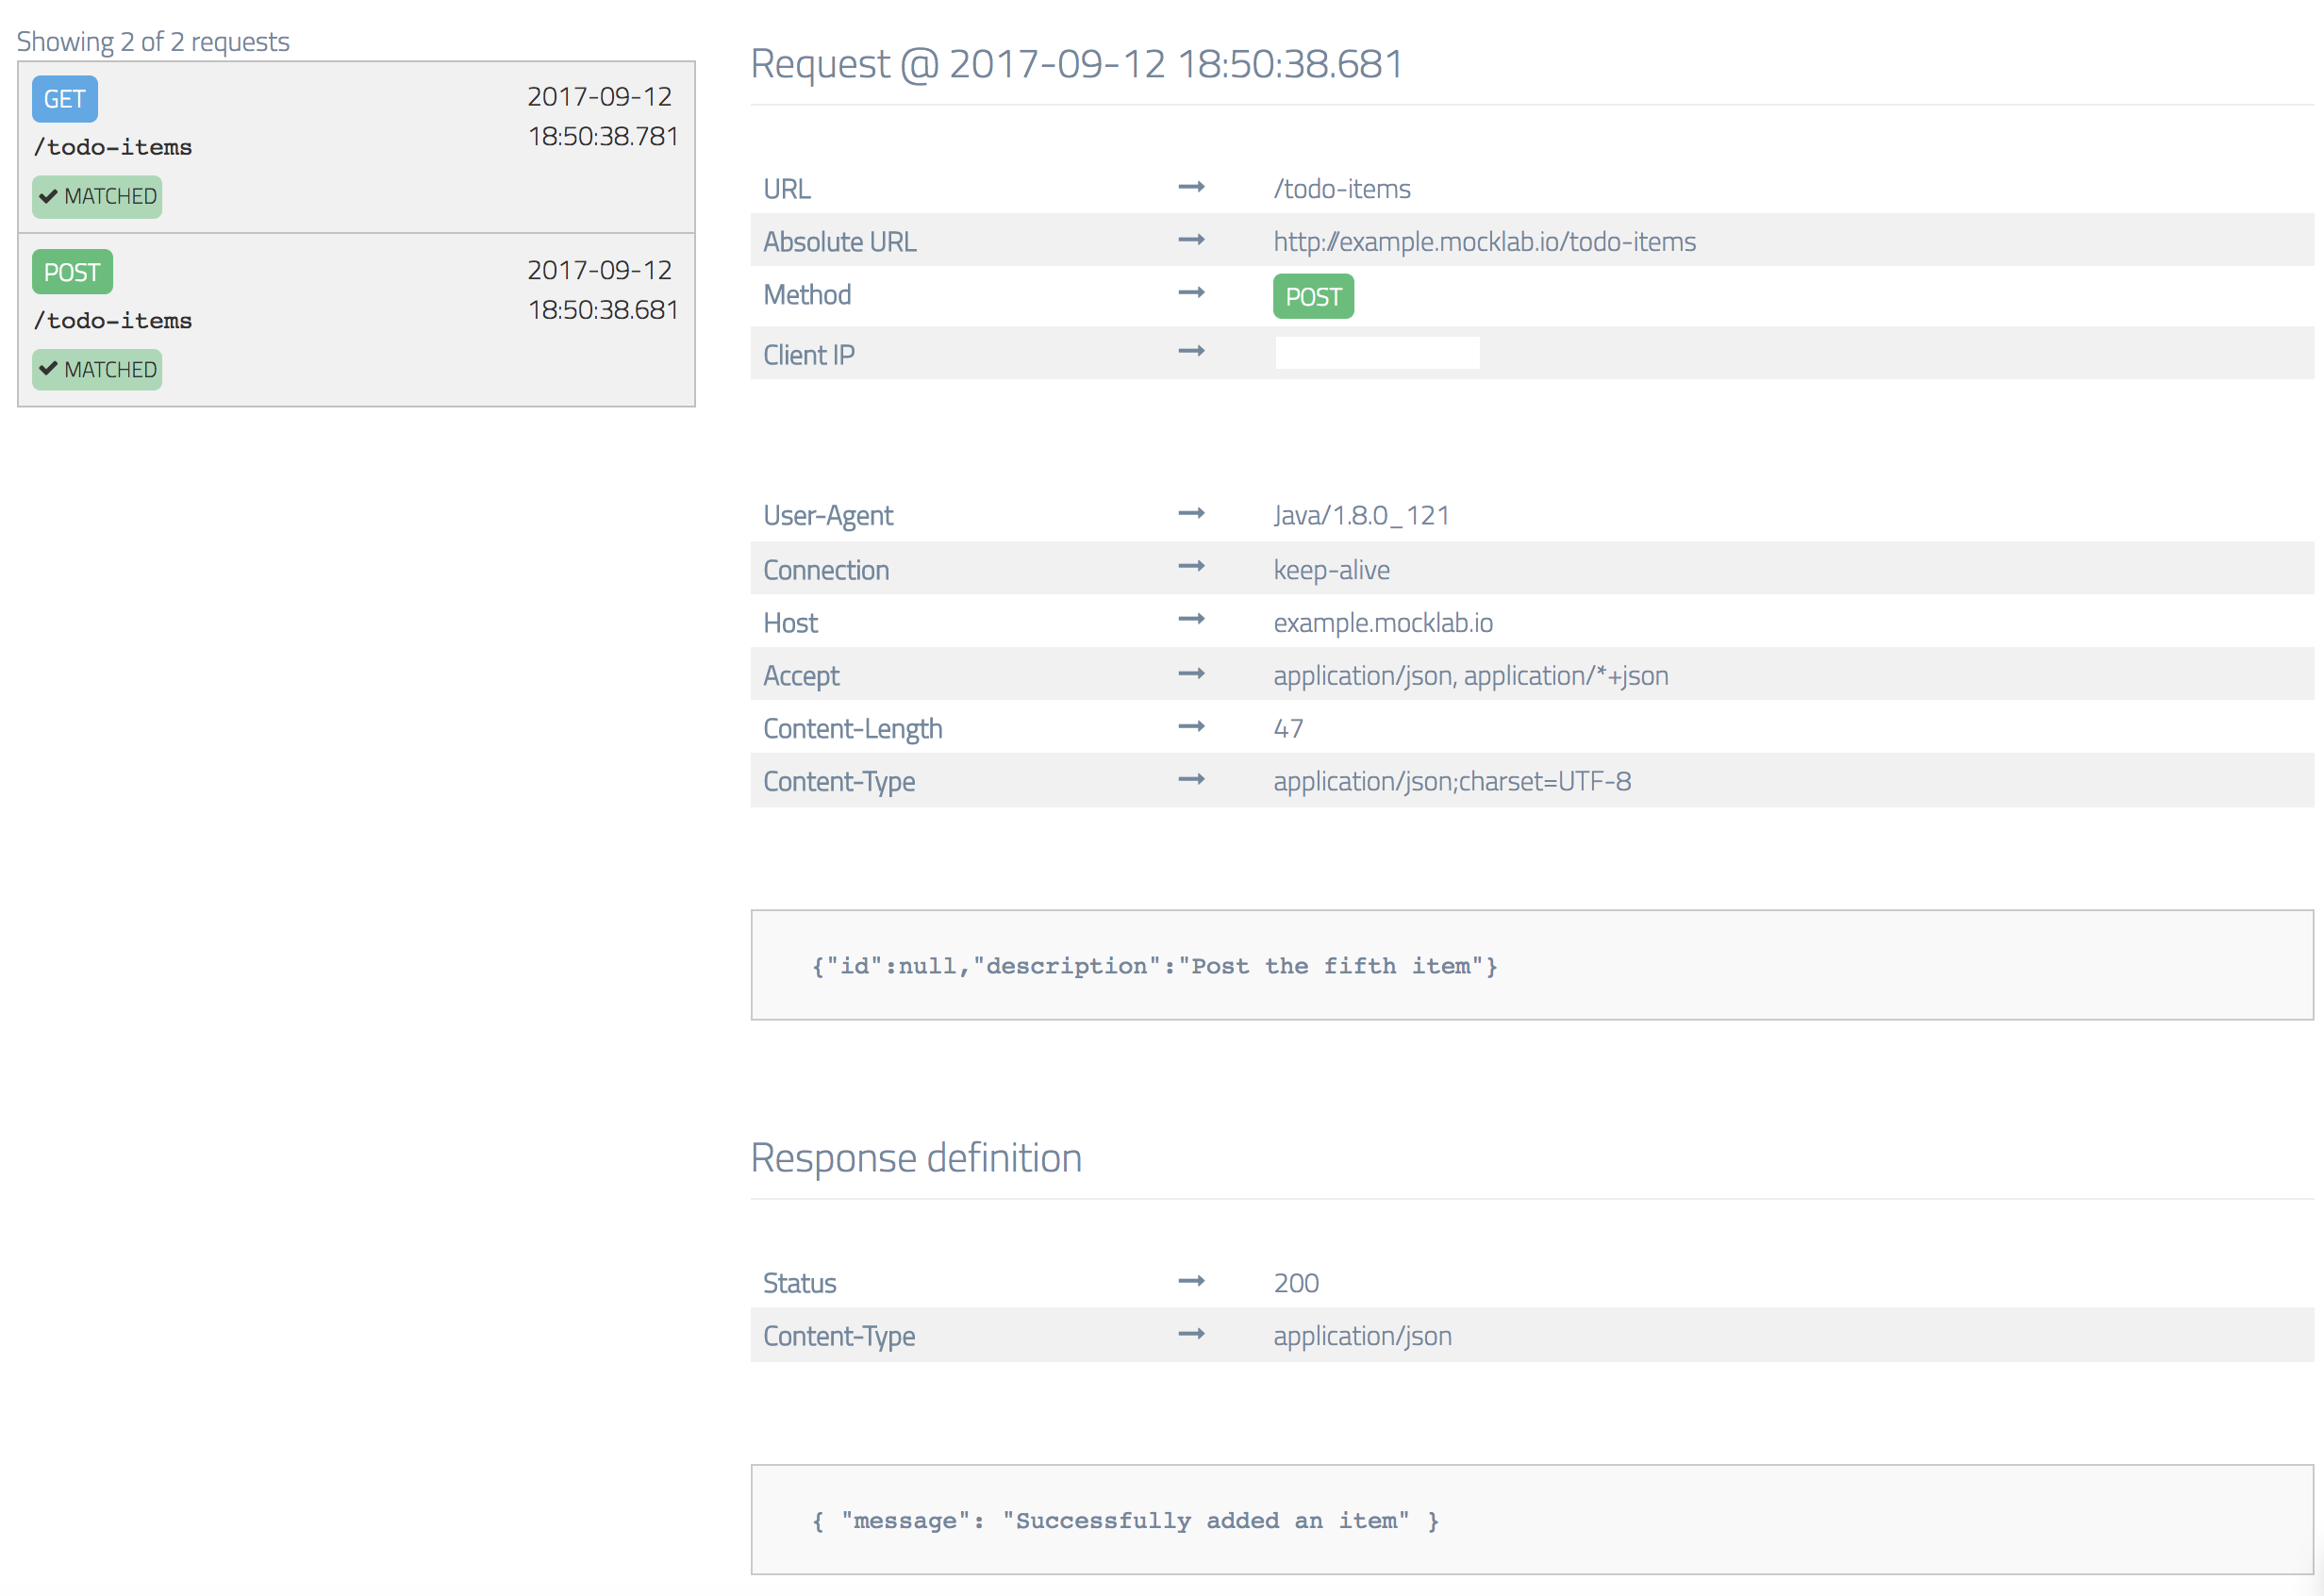
GET /todo-items stub you created at the start until you change it. However, if you visit the request log in the WireMock Cloud UI you can confirm that the request you expected actually arrived:
Step 3 - posting a new item fails
In this step we’re going to deliberately return an error from the API in order to test that the app behaves appropriately. Navigate to thePOST /todo-items stub you created in the previous step and clone it (using the Clone button at the end of the form).
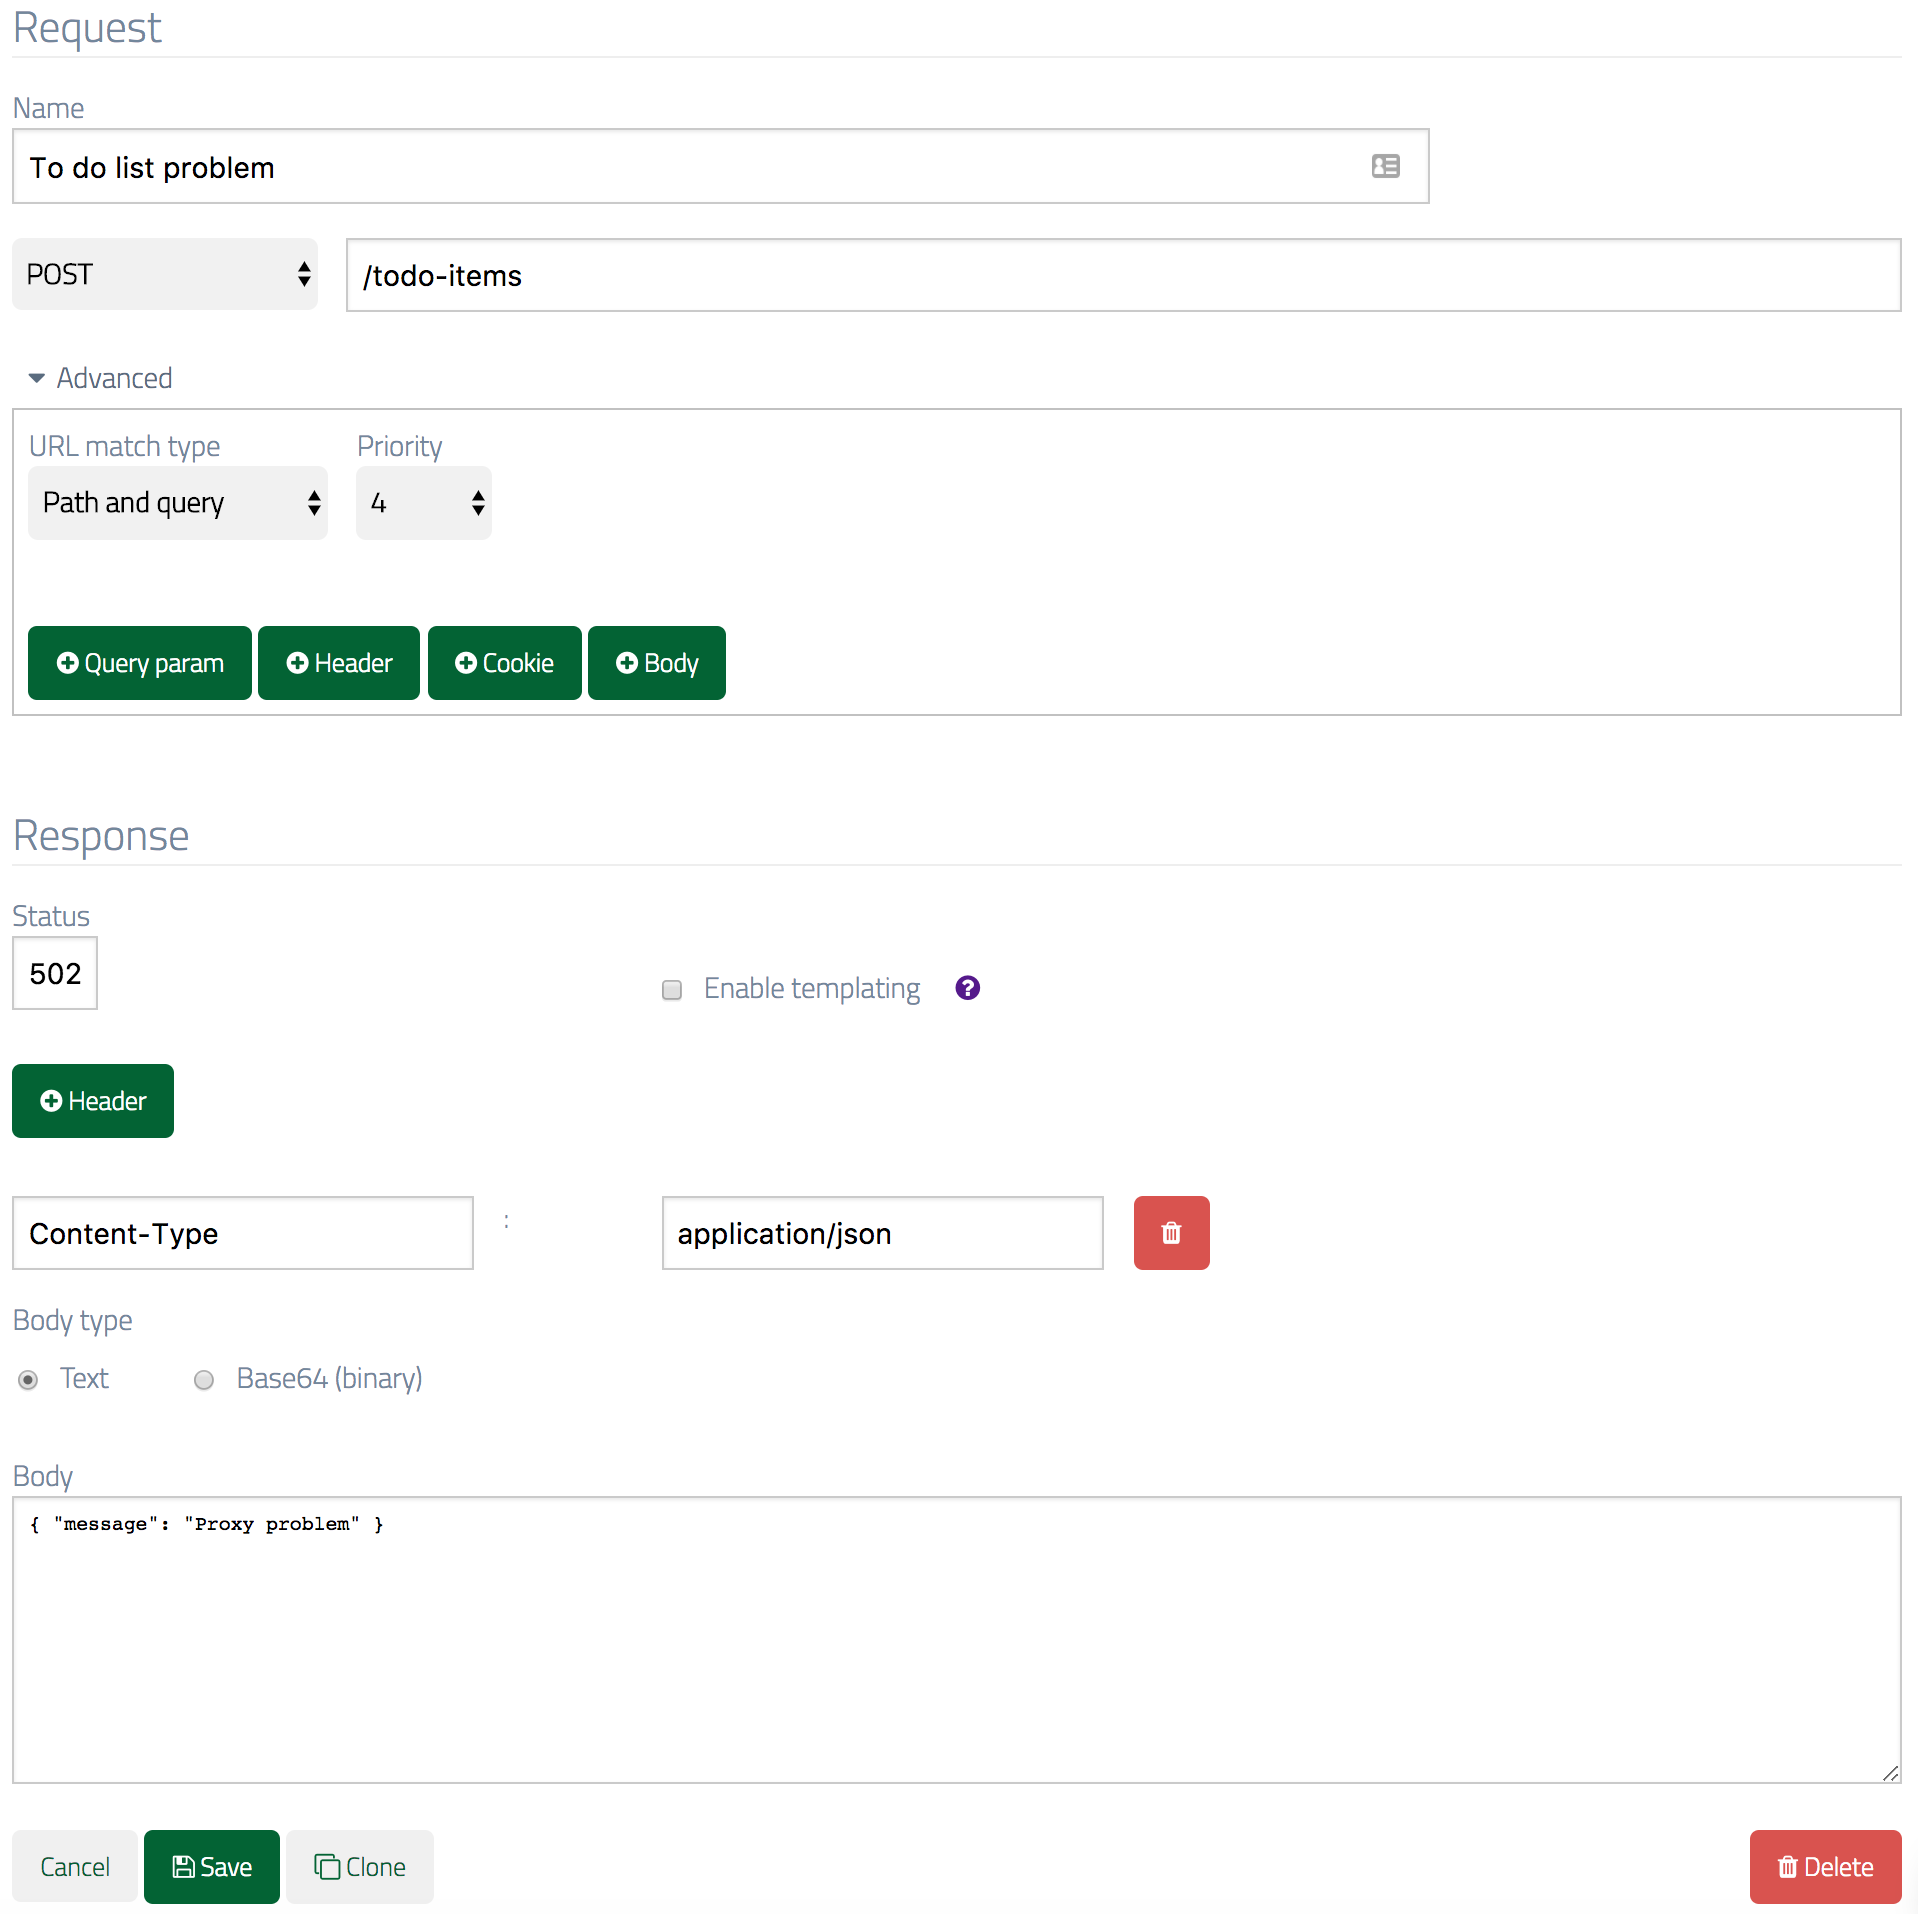
In the newly cloned stub, expand the Advanced section and give the stub a higher priority - 4 or less will work as the default is 5.
The reason we need to do this is to ensure that this and not the OK posting stub we cloned from is guaranteed to match an incoming POST /todo-items.
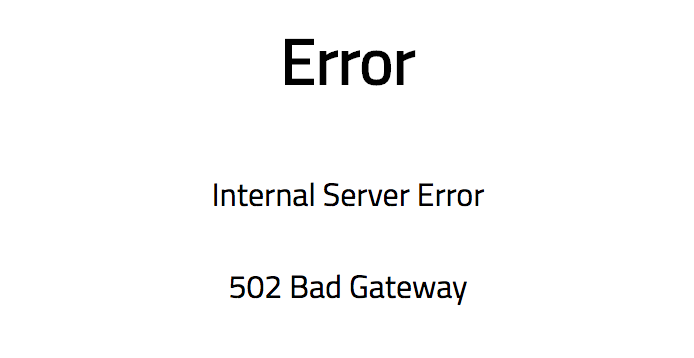
In the response section change the response code to 502 and the message in the JSON body to something suitable:
